Bathroom Regrouting Services Overview
This page explains bathroom regrouting services and helps property owners compare local contractors who provide this work.
- - Residential homeowners seeking to refresh bathroom surfaces with regrouting services.
- - Property managers looking to maintain or upgrade multiple bathrooms in rental or commercial buildings.
- - Renovation contractors aiming to connect with local specialists for bathroom regrouting projects.
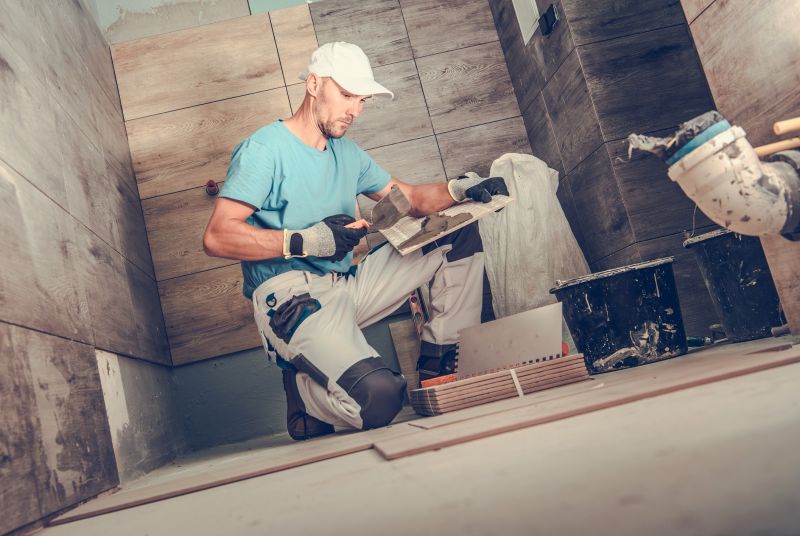

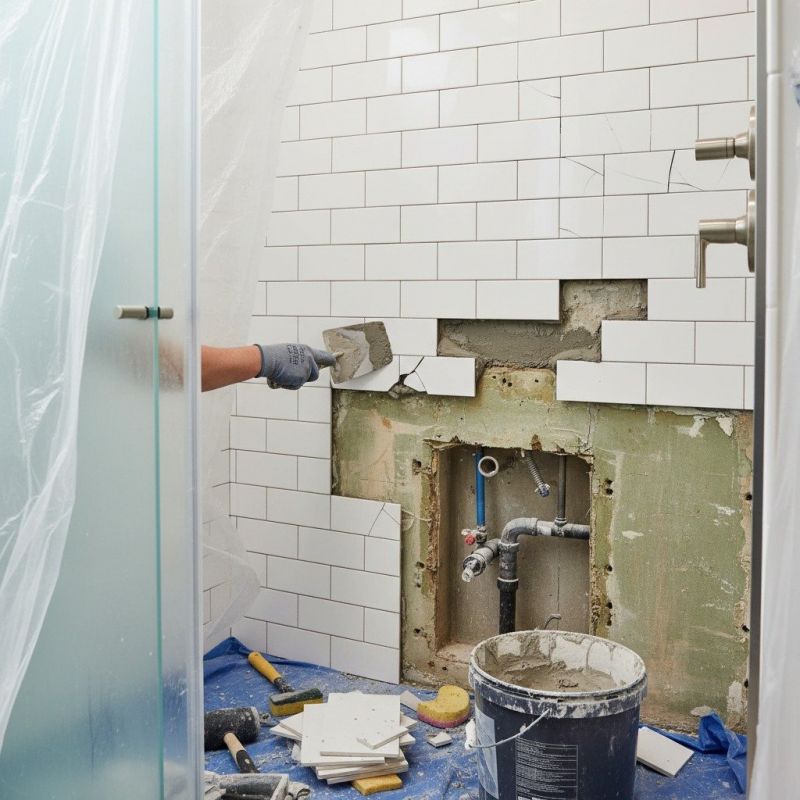
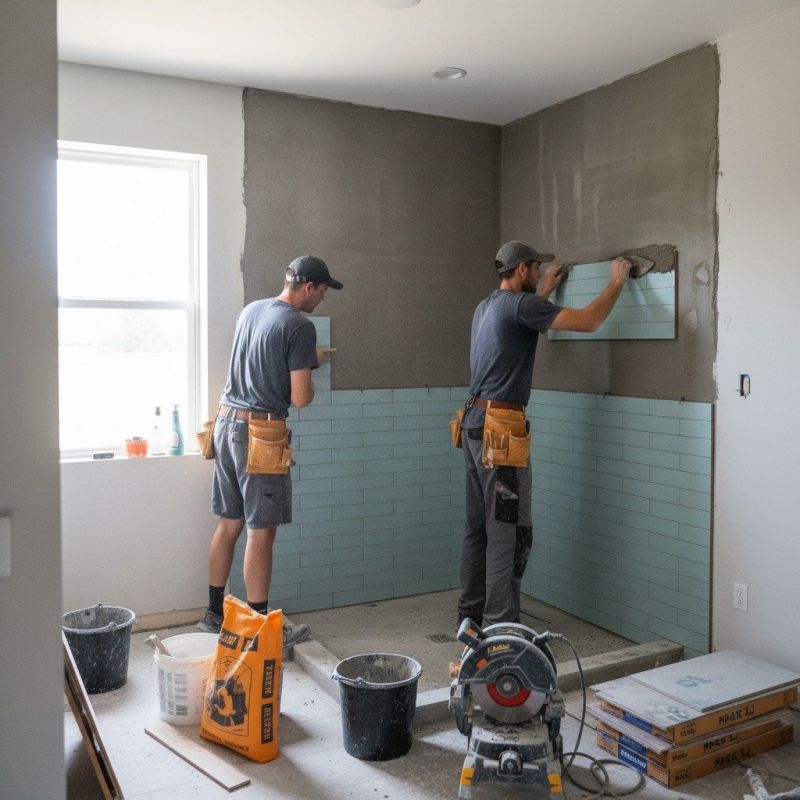
Bathroom regrouting services involve renewing the grout lines between tiles, helping to improve both the appearance and functionality of bathroom surfaces. Property owners often seek assistance from local contractors who specialize in tile maintenance and repair to address issues such as cracked, stained, or deteriorated grout. These professionals typically assess the condition of existing grout, remove damaged sections, and apply fresh grout to restore the surface’s durability and visual appeal.
Connecting with experienced local service providers ensures that bathroom regrouting projects are handled efficiently and effectively. Local contractors offer a range of solutions tailored to individual needs, whether for a small refresh or extensive renovation. Property owners can expect to work with professionals who understand the specifics of tile and grout work, providing practical services that help maintain the bathroom’s cleanliness and aesthetic quality.
This guide helps visitors understand the key factors to consider when choosing bathroom regrouting services. It provides clear information to compare and connect with local contractors who specialize in this work. By highlighting important questions and details, it prepares users to find the right service providers for their project.